
Ever imagined building a hands-free speaker that you can control with your voice. Wouldn’t it be even better if we could also control home appliances this way? In this blog series, let’s see how to build a voice controlled home automation system using Amazon Alexa and Raspberry Pi. I will show you how we can use Raspberry Pi to run the Alexa Voice Service and control a Light Bulb.
Alexa Voice Service provides us the facility to play music, provide information, news, sports scores, weather, and more—instantly. All you have to do is ask.
In this first post of the series, we will setup Amazon Alexa on Raspberry Pi.
Things Required for this Project
Hardware Requirements:
- Raspberry Pi 3 [Recommended] or Raspberry Pi 2 Model B [Supported] and SD Card
- External Speaker with 3.5mm AUX cable
- USB 2.0 Microphone
- 16A Solid State Relay / 3v Electromagnetic Relay
- 230v CFL Bulb with Fixture & Adapter Setup
Note: The supply of 230v is country specific. Make sure to check this and choose the relays and light fixture as per your country specific settings.
Software apps and Web Requirements:
- Register an account with Alexa Voice Services
- Register an account with PubNub
- Register an account with IFTTT
Prerequisites
- Raspberry Pi with Raspbian OS installed, if it not installed follow Setting up the Raspberry Pi with Rasbian OS – that will walk you through setting up Raspbian Jessie and connecting the hardware.
- Internet Connection [Ethernet or WiFi].
- Setting up a Microphone for the Alexa Voice Input.
- USB 2.0 Mic for the Input.
- 5.1 USB Sound Card with a condenser Mic.
- I have used a 5.1 USB Sound Card with custom made Mic, a small hack with the sound card and mic you can build the Audio Input for Rpi.
Follow the Schematic and build your mic,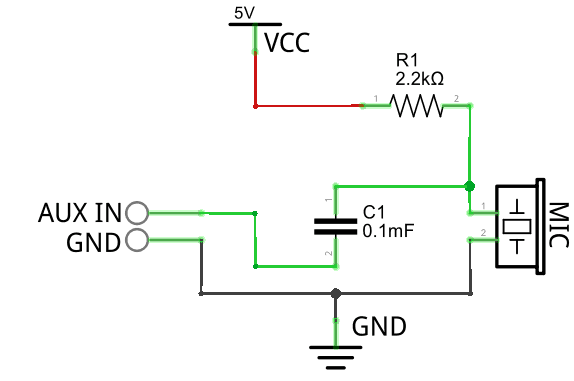 Actual Setup of mic looks somewhat like this.
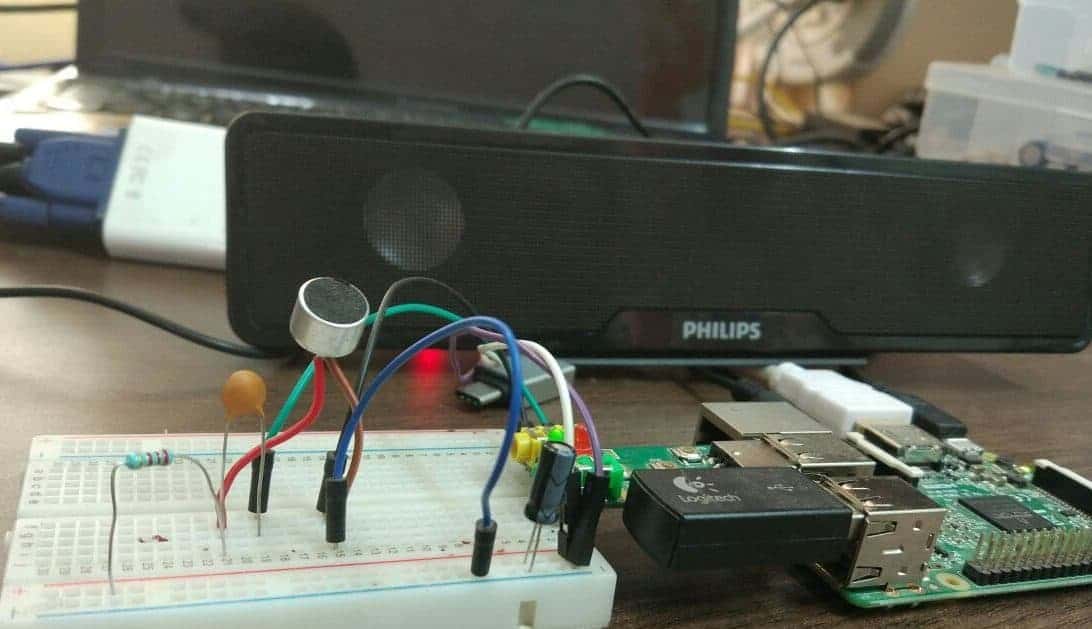
And here is how the voice controlled home automation demo will function.
Once you are ready with the hardware setup, let’s work on the software side of the Project. But first, we will setup the VNC Server and Viewer for accessing Raspberry Pi from a laptop. I have followed the official Github Repo for setting up the Alexa and customized for installation steps for this demo.
Steps to be followed
- Setting up Raspberry Pi with SSH and VNC
- Setting up Alexa Voice Service
- Installing Alexa on Raspberry Pi
Setting up Raspberry Pi with SSH and VNC
SSH Setup for Remote Access
Initially start with Raspberry Pi connected to a Monitor and install SSH Server with the following command.
$ sudo apt-get install openssh-serverOn the latest Raspian OS, SSH Server is enabled by default. If you run into problems with getting the SSH to work, use the raspian-config utility to check it is enabled.
So, now let’s SSH into Raspberry Pi to get rid of Keyboard, Mouse, and Monitor with Rpi. To do that, you need to know the IP address of your Raspberry Pi.
Type this command into the terminal:
$ hostname -I
> 192.168.1.133 //this is an example Raspberry Pi’s IP - it would be different for you
If you’re on a Windows PC, follow the instructions here to SSH Using Windows
Now that you know the IP address of your Pi, you are ready to connect to it remotely using SSH. To do this, open the terminal utility on the computer you would like to connect from and type the following:
ssh pi@<YOUR Raspberry Pi IP ADDRESS>
It will prompt you for your password, enter default password for the user pi is raspberry. Now, we are ready to setup the VNC.
VNC Setup
For setting up the VNC server, we have to install tightvncserver on the Raspberry Pi. Open the Serial Terminal and install using the following command,
sudo apt-get install tightvncserverOnce Installation is completed to run the VNC Server, type the following command on terminal
tightvncserver
Make sure that tightvncserver is running otherwise, the remote access to Raspberry Pi using VNC Viewer will not work.
Autostart and run VNCServer at Startup
To auto start the application on the bootup, type the following in the terminal:
cd /home/pi
cd .config
Note the ‘.’ at the start of the folder name. This makes it a hidden folder that will not show up when you type ‘ls’.
mkdir autostart
cd autostart
Create a new configuration by typing the following command:
nano tightvnc.desktop
Edit the contents of the file with the following text:
[Desktop Entry]
Type=Application
Name=TightVNC
Exec=vncserver :1
StartupNotify=false
Type ctrl-X and then Y, and then press Enter to save the changes to the file.
That’s it. The next time you reboot, the VNC server will restart automatically.
Setting up VNC Viewer on Laptop
First download VNC Viewer on your laptop and then,
- Run the downloaded VNC Viewer.
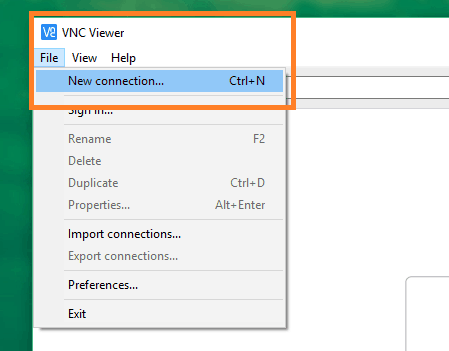
- Open a new connection by, File -> New Connection.
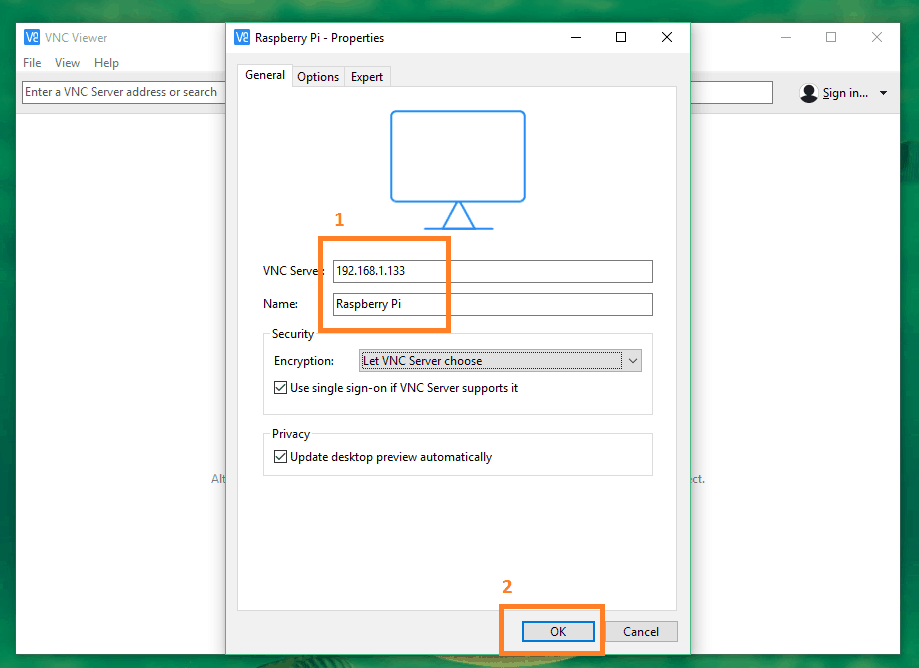
- Register the device by providing the IP address [192.168.XX.XXX] and Device Name.
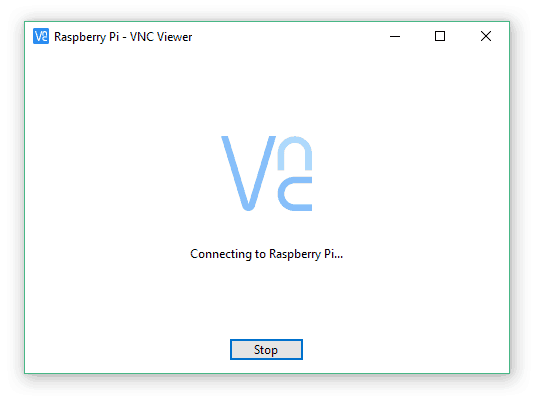
- Once Registration is done, Double click on the following icon and VNC starts connecting to the device.
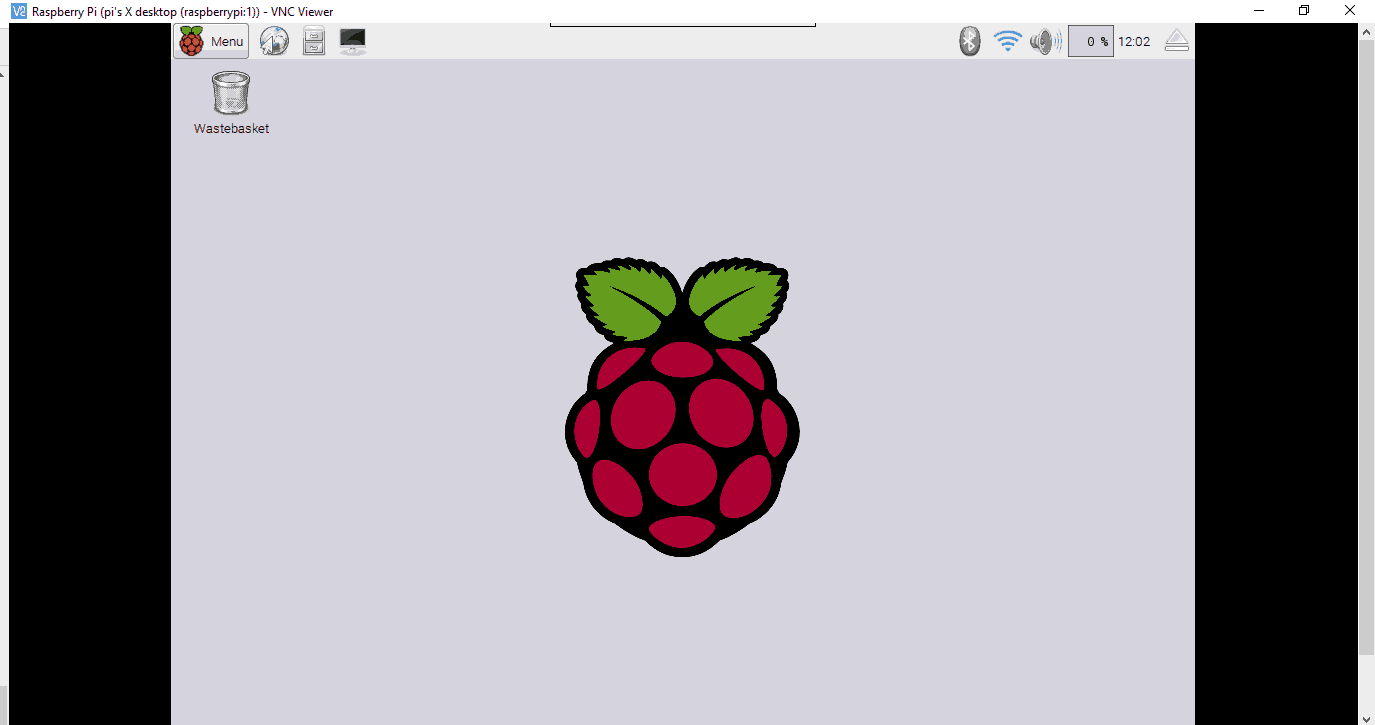
- Once the device is connected, we are ready for setting up Alexa Installation.
Setting Up Alexa Voice Service
In this section, let’s setup the Alexa with Raspberry Pi
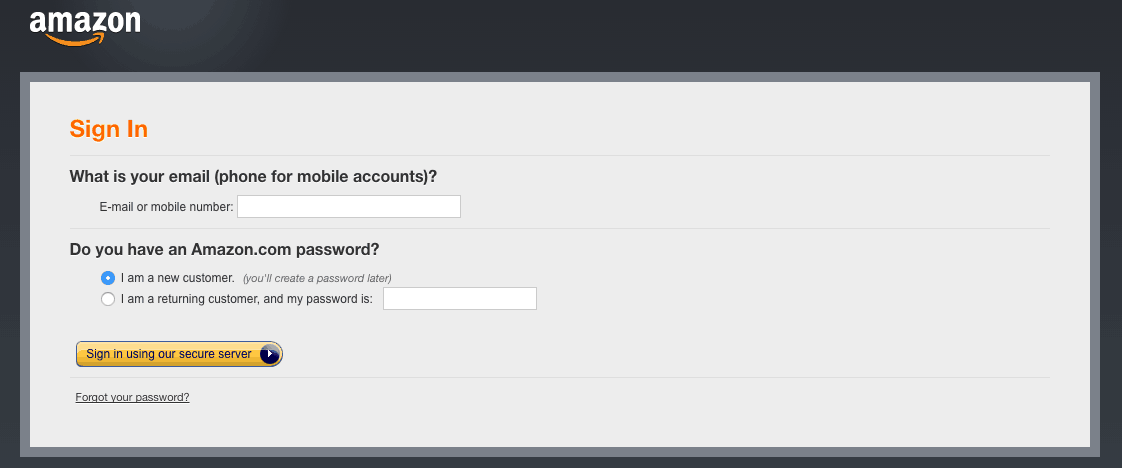
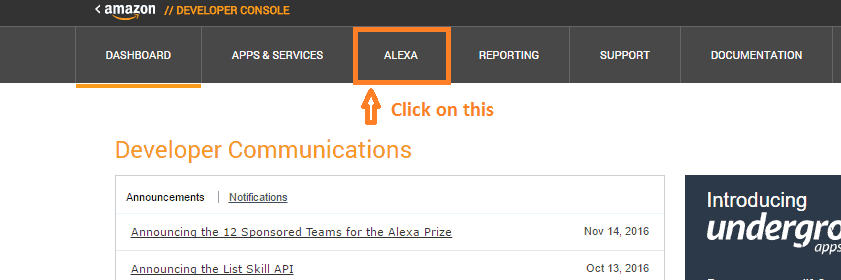
- Log in to Amazon Developer Console and get started with Alexa Voice Service by clicking on Alexa.
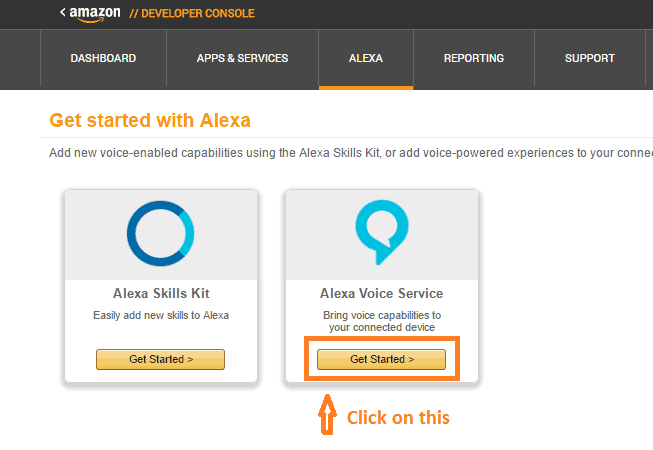
- Click on the Alexa Voice Service, to proceed with the device registration.
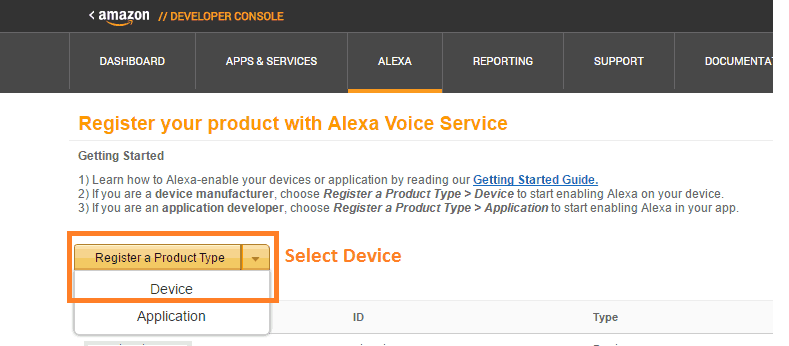
- Under Register a Product Type, select Device.
- Under Device Type Info, provide the Device Type ID and Device Name and Click on Next.

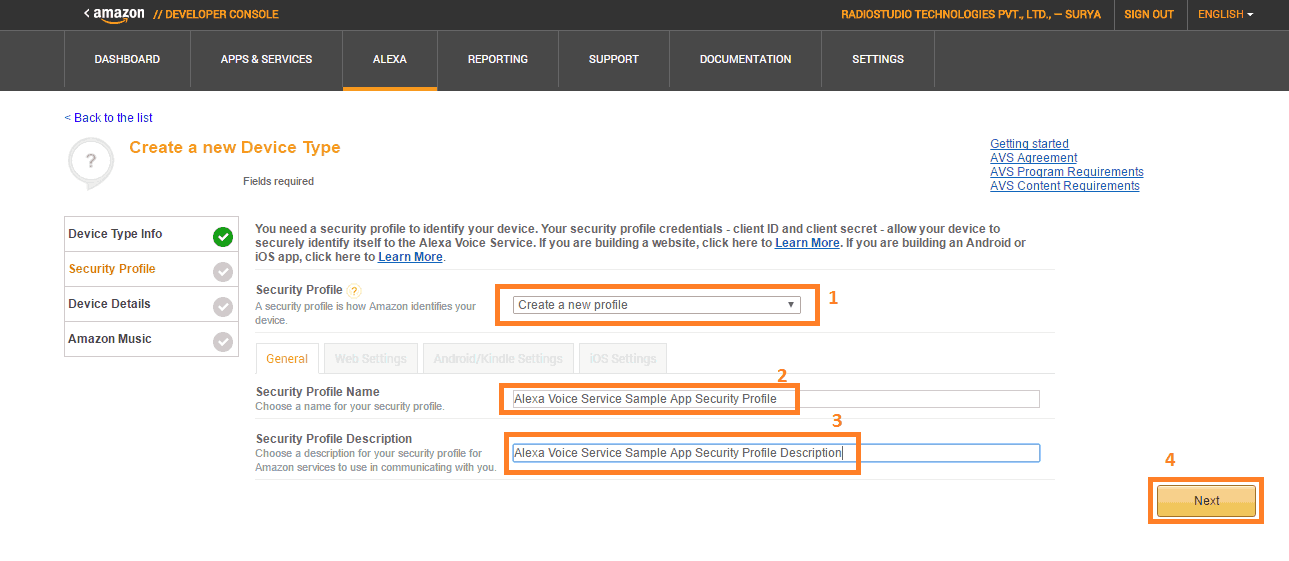
- Under Security Profile, click on Create a new Profile
- Provide a Security Profile name
- Provide a short description about the profile and click on next.
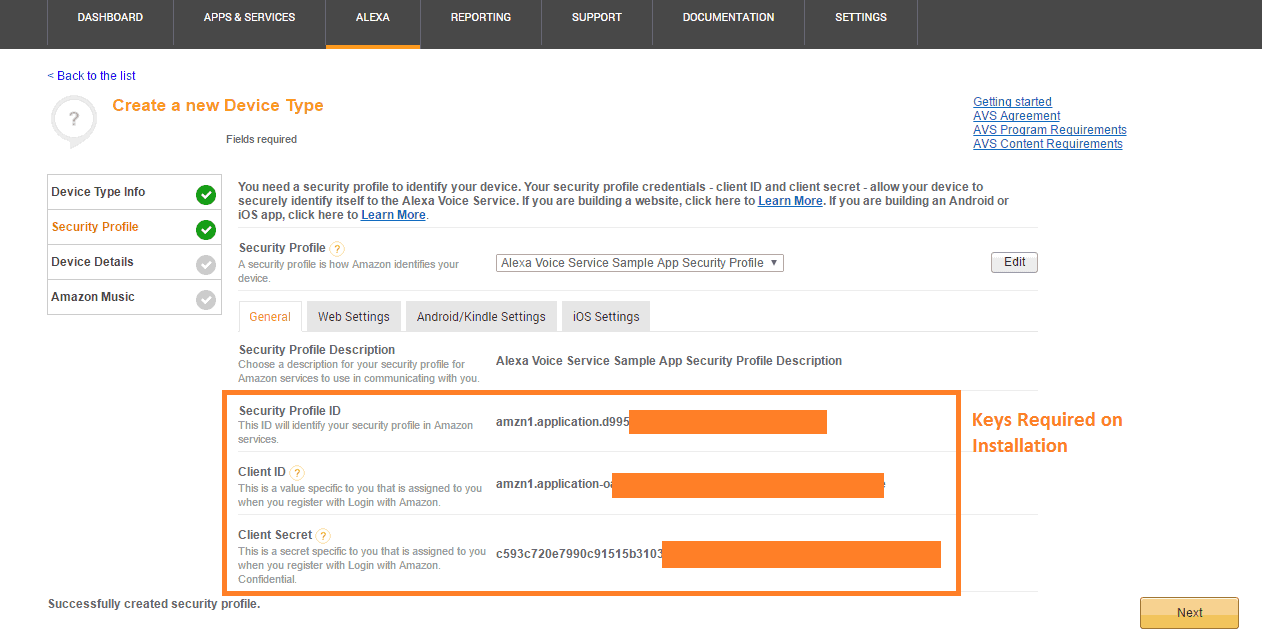
- Now, note down the ProductID, ClientID and ClientSecret values that you see on the screen. You will need these later while installing Alexa on Raspberry Pi.
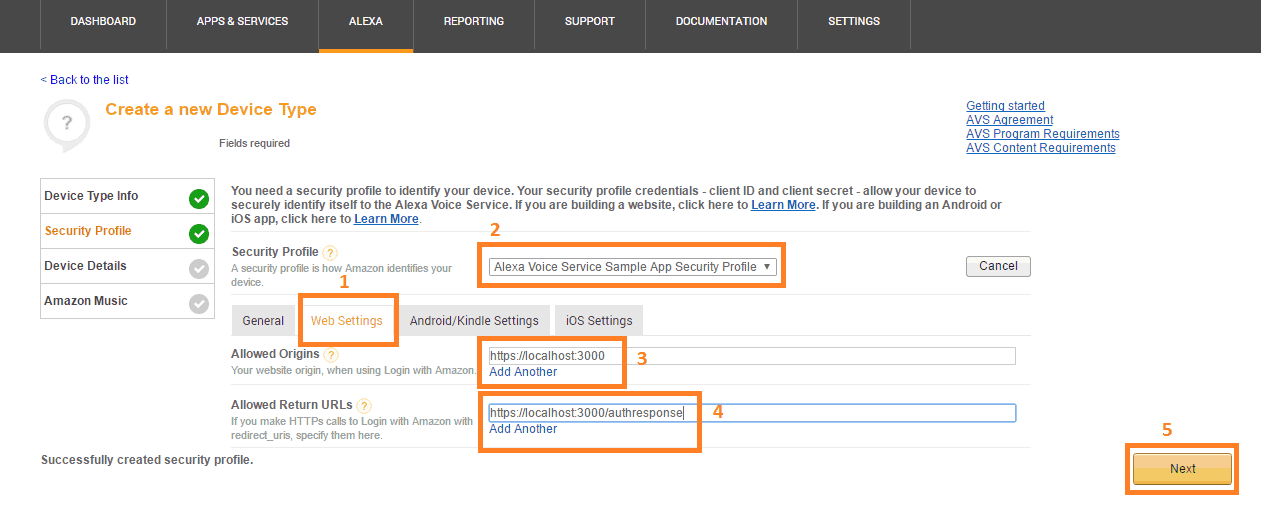
- Click on Web Settings, select the profile you have created in the security profile.
- Provide Allowed Origins as,
https://localhost:3000
- Provide Allowed Return URLs as,
https://localhost:3000/authresponse
- Click on Next to proceed with device details.
- Provide Allowed Origins as,
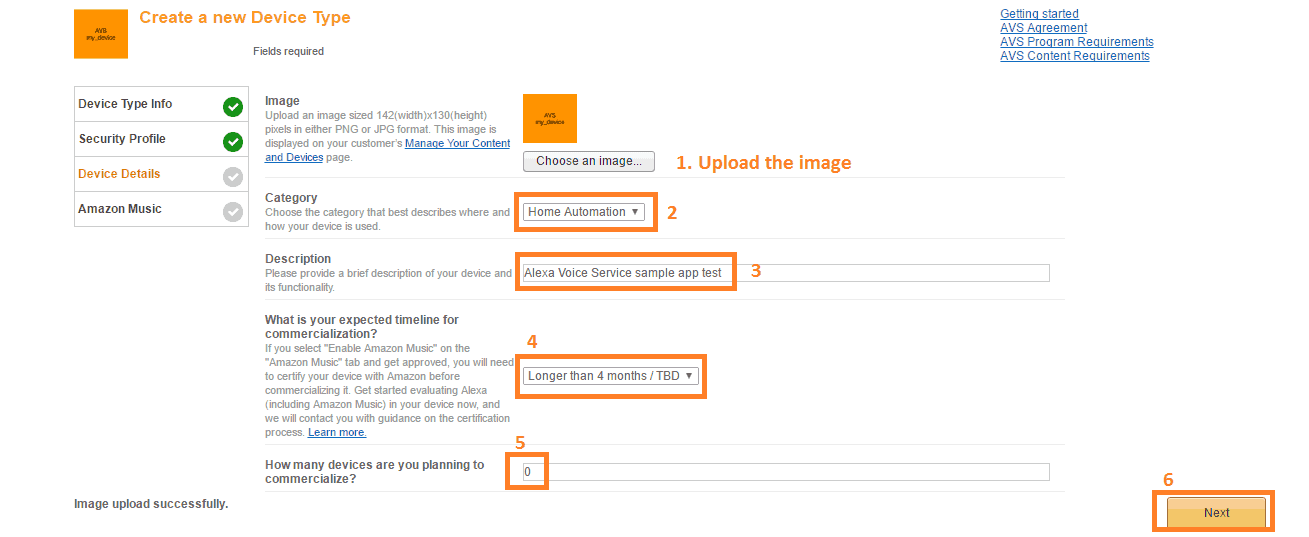
- Under Device Details tab,
- Download and Upload the following image.

- Select the Category as Home Automation.
- Provide a Short Description
- Expected timeline for Commercialization, Select Longer than 4 months/ TBD.
- Total devices for commercialization, Set as 0.
- Click on Next to proceed.
- Download and Upload the following image.
- Under Amazon Music, Select No for access to Amazon Music.
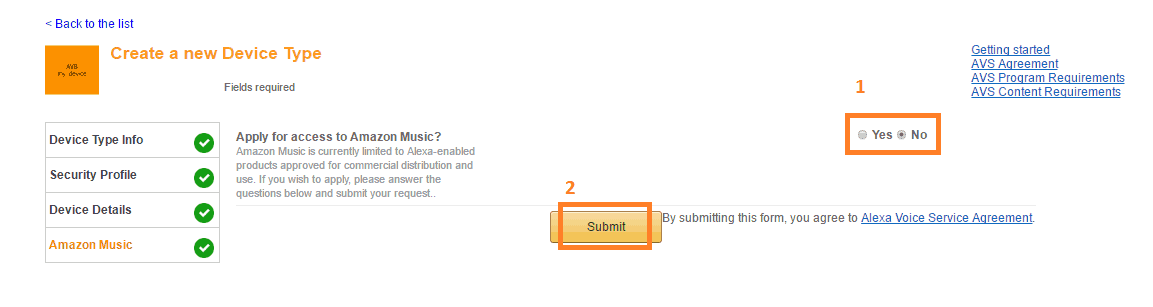
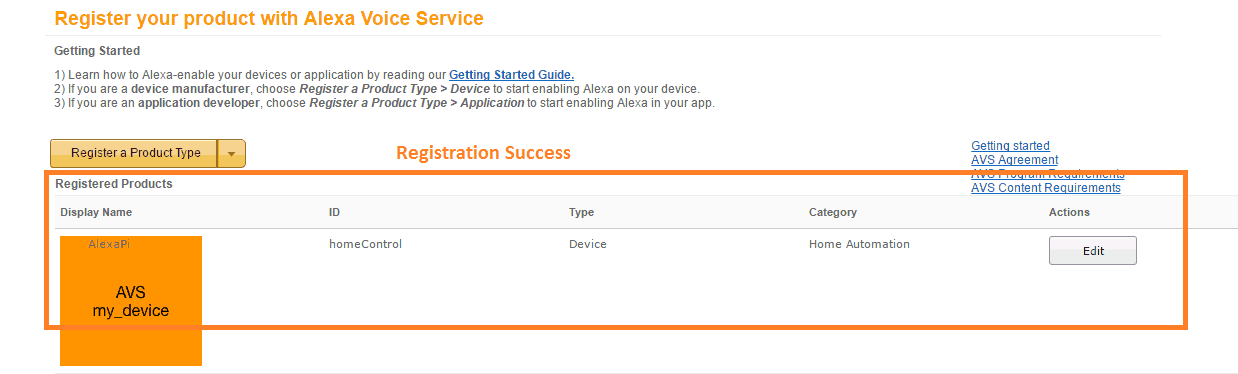
- Click on Submit to finish the device type creation. Now you can see your device on Registered Products.
Install Alexa on Raspberry Pi
To install Alexa on Raspberry Pi, follow the official link for installation, Setting up Alexa RPi.
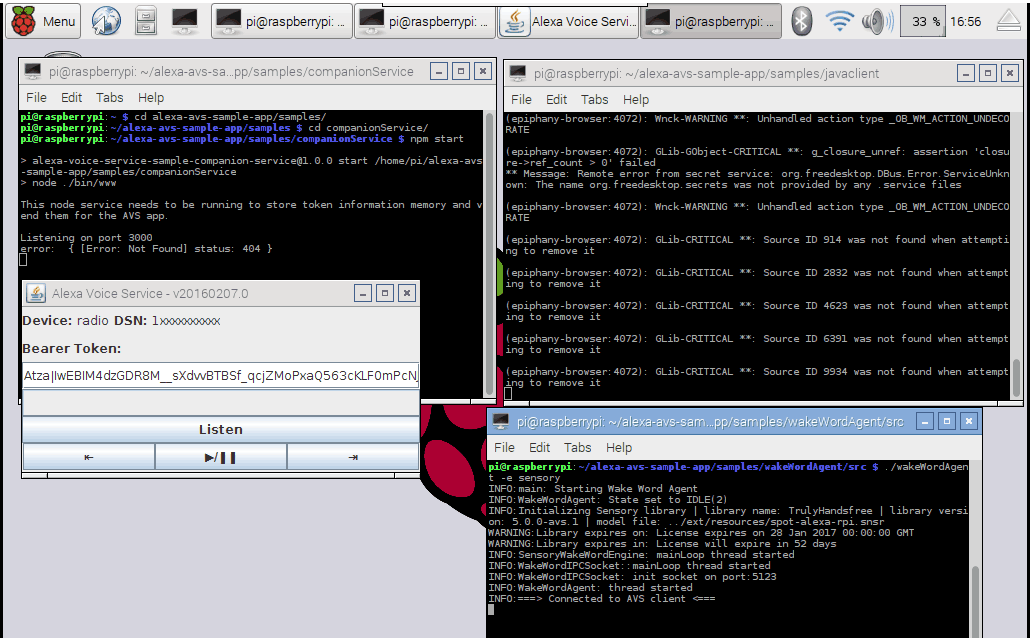
In the end, you will have three terminals on Raspberry Pi.
So this will be our complete setup with Alexa. In a subsequent blog post, we will see how to setup the IFTTT and other components of hardware to complete the project. See you soon !!
